Cake pops are one of my favorite things to bake for parties and holidays. They are always a crowd pleaser. I have had a lot of people ask me about how I make my cake pops. How are they so moist? Do you use a cake pop making machine? How hard is it? I am going to answer all of these questions. First off, there are 2 ways if making cake pops. One is with a cake pop maker like this one:
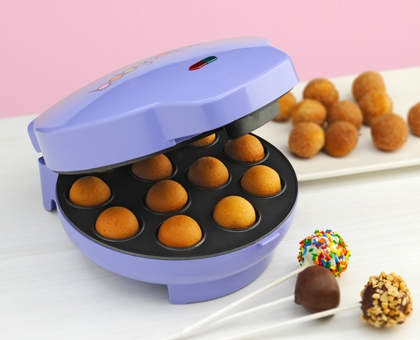
Babycakes Cake Pop Maker
I have the Babycakes Cake Pop Maker. It was $24.99 and is the faster and easier way to make cake pops. However, I do not use mine to make cake pops, I use it to make delicious donut holes. With the cake pop maker it is very simple, it bakes balls of cake which you then cover with candy melts when you are done. You can buy candy melts at Michaels, Walmart, or order them online.
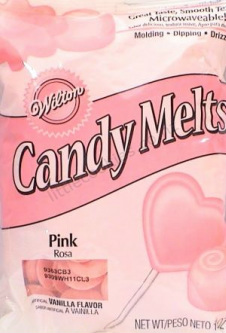
Candy Melts
I prefer making my cake pops the harder more time consuming way because that's what makes them taste oh-so-addicting! For the method I learned you bake a cake as you normally would, it can be a box mix or from scratch it's up to you. After the cake is baked and cooled you crumble the cake up into a bowl and then mix in a tub of store bought frosting, or the equivalent amount of frosting from scratch. You mix them together until it is a paste and then put it into the fridge. This is what makes the cake pops with this method taste so much moister. They are not just balls of cake like the machines make; they are balls of a moist cake and frosting combination.
Image courtesy of patpitchaya / FreeDigitalPhotos.net
The mixture should at least be refrigerated overnight; I usually refrigerate it for a day. Then you roll the mixture into balls put them on a tray and back in the fridge for a couple more hours. Then you put your candy melts into your melting pot and stir until they are melted. Then you take your stick and dip it into the melted candy and then into the cake ball.
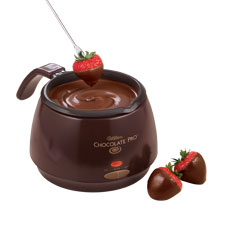
Chocolate Pro™ Electric Chocolate Melter
After that there are 2 methods to covering the cake pops. The first is to simply just dip the entire cake ball into the melting pot to coat it with melted candy. This method creates extremely smooth coated cake pops, but can be tricky for some to master. The cake balls can slide of the sticks and into the melting pot. The first time I made cake pops about 2/3 of them fell apart while I was trying to coat them. That happened until I changed my tactics. Instead of dipping, I held the sticks the cake balls were on and took a butter knife and spread the candy coating onto the balls. This led to almost none falling off or falling apart and is my preferred coating method. This way makes the the coating look more whipped rather than smooth, but still looks great. It takes longer than dipping, but at least for me it creates less cake pop casualties.
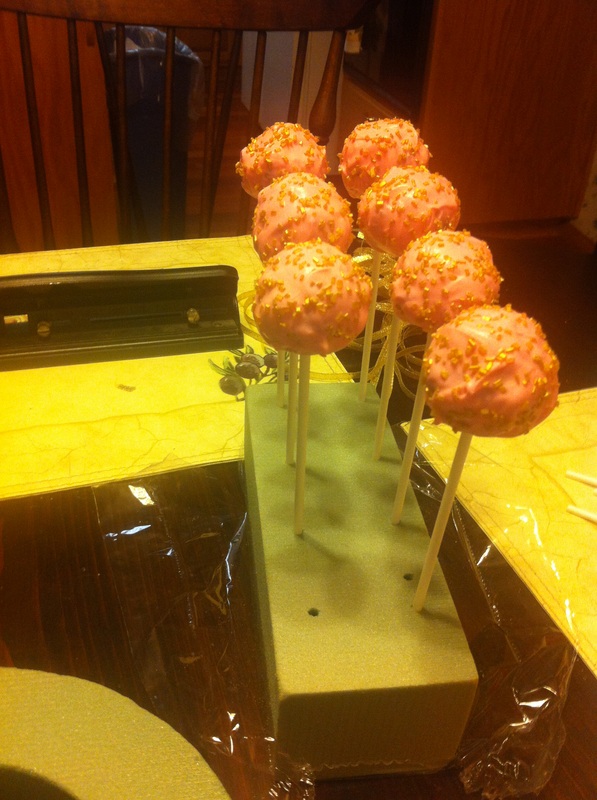
Once coated I poke them into that green floral foam, it's called oasis I believe. You can get it at the dollar store or Michaels. I leave them there to dry.
Once coated I poke them into that green floral foam, it's called oasis I believe. You can get it at the dollar store or Michaels. I leave them there to dry.
If I am making them for a special event like a wedding, shower, party, etc. I cut squares of cellophane and wrap each individual cake pop and tie a ribbon to hold the cellophane in place. The cellophane is great for sanitary purposes and for transportation services. I also just the it makes them look nice too.

So that is the long drawn out process I use for making cake pops, it can be a hassle and hard to learn. But once you get the hang of it they are so worth it in the end YUMMY!
To make cake pops the way I describe here you will need:
Cake Mix (and ingredients to bake it)
Frosting
Melting Pot
Candy Melts
Lollipop Sticks
Cellophane
Ribbon
Sprinkles (Optional)
Have fun and get Baking!
To make cake pops the way I describe here you will need:
Cake Mix (and ingredients to bake it)
Frosting
Melting Pot
Candy Melts
Lollipop Sticks
Cellophane
Ribbon
Sprinkles (Optional)
Have fun and get Baking!


 RSS Feed